{Home} Fall Off the Wall

I was watching Netflix on my couch when I heard a loud bang coming from the closet in the dining area.  I quickly turned to see what it was and didn’t see anything amiss.  Awhile later (it’s Netflix), I went to the kitchen, and noticed one of the frames on my frame wall had fallen.

It was broken, but I was able to put it together with some Shoe Goo glue.

As good as new!

Now the picture of my old neighborhood is once again hanging proudly.

Unfortunately, this is not the first or second or third thing to fall off my wall…hopefully my apartment isn’t cursed!

{Hannah} Hey Sole Sister

I don’t want to miss a single thing you do–lyrics everyone thinks about me and this blog, right?

I’ve replaced the tips on my high heels, but I had yet to venture into replacing the larger heels and soles on my boots.  After a few slips, and too many click-clacks of the plastic heel, I googled around for how to resole a shoe or boot.  I didn’t find anything too helpful, other than the basic: cut up some rubber and glue it to the bottom.  Sounds simple enough!

I ordered a large sheet of shoe rubber, grabbed the Shoe Goo I already had, and picked up some small nails.  On a pair of ankle boots I had done by a cobbler a few years ago, they put some small nails to hold the rubber, and I thought that could be a useful thing for me as well.

I traced the bottom of the boots onto the back of the rubber with a silver sharpie.

Then I cut the shapes out, and cut the heel part off from the rest.  Yup, some silver got onto the boots, so I colored over it with a black sharpie.

I was squeezing the Shoe Goo bottle so hard, that the bottom of the tube opened up!

It made it easier to get out large amounts of glue, which I spread with my finger (because that was the best tool I could find for the job) onto the bottom of the boot and onto the new rubber sole.

The glue takes up to 48 hours to dry, and without anything holding it in place, I noticed the sole shifting around.  I wrapped most of the boot in yarn to hold the sole in place, but the heel wasn’t as easy to wrap.  Instead, I used the nails to hold it in place.

It seems obvious now that you can’t get nails into a plastic heel, but it didn’t occur to me at the time.  I ended up removing the nails once it had dried.  There was some excess rubber hanging over the edges of the boot, which I removed with a utility knife.

But the important thing is that it worked!  I’ve been wearing these boots for a few weeks, and the new sole has much more traction than worn down rubber.  Also, the boots have a little extra cushion to them.

Last night, I resoled another pair of boots the same way.  Instead of using nails to hold the heel rubber in place, I stood the boots up and put a water bottle inside.  It worked to keep the heel plastic pressed to the new rubber.  Now I just have to be patient for another day before I can wear them!

{Home} Be Cool

Oh, another infrequent post on this blog!  Yeah…most of the kitchen stuff is still chasing the contractor down for updated project scopes and estimates, and then forwarding that on to the property manager for their approval and the approval of the board.  But that didn’t stop me from taking another step towards a nicer kitchen!

Unsurprisingly, I’ve been browsing appliances for quite a few months (or years).  I’ve been very picky about the range, the microwave, and the dishwasher–so much so, that there’s basically just one or two that fit all my requirements.  But the only requirement I had for the fridge was that it be taller than me, and at five-two, that’s not a tall hurdle (pun intended).

Most of the newer refrigerators are six feet, which meant I had a lot of options, and I don’t do well with options.

Then the choice got easy: this past week, the Habitat for Humanity NYC Restore posted a very nice fridge.

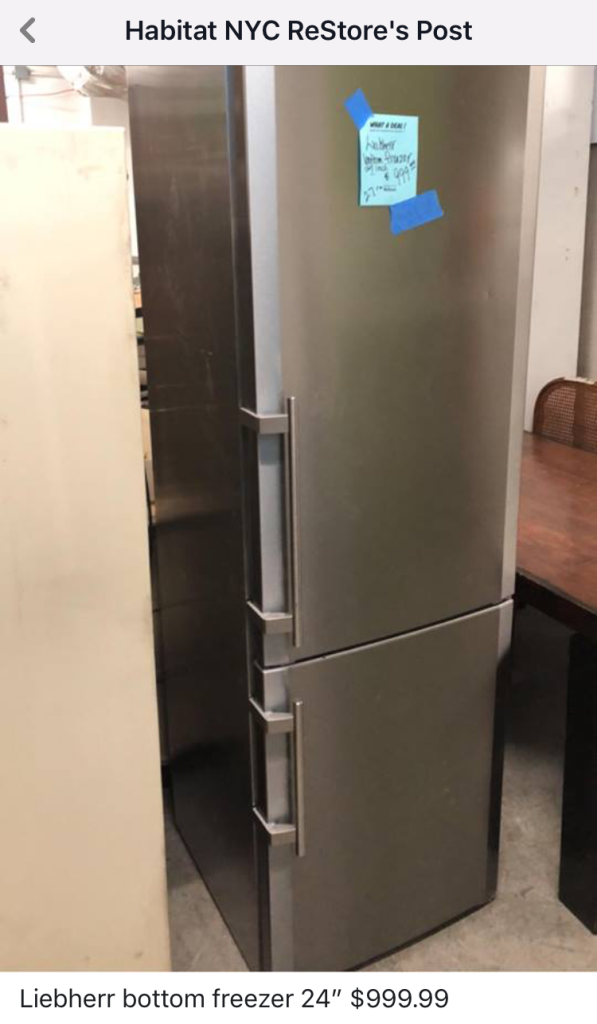
Not only that, but they were also having a sale!

I went to the Restore in Queens on Saturday to check it out.  It worked, it was in great shape (just a few small dents on the front), and I would never be able to have a fridge this nice otherwise–they retail for over two grand!

As for the height, it’s almost eighty inches 🙂 All of the other (new) fridges in my price range were only six feet.

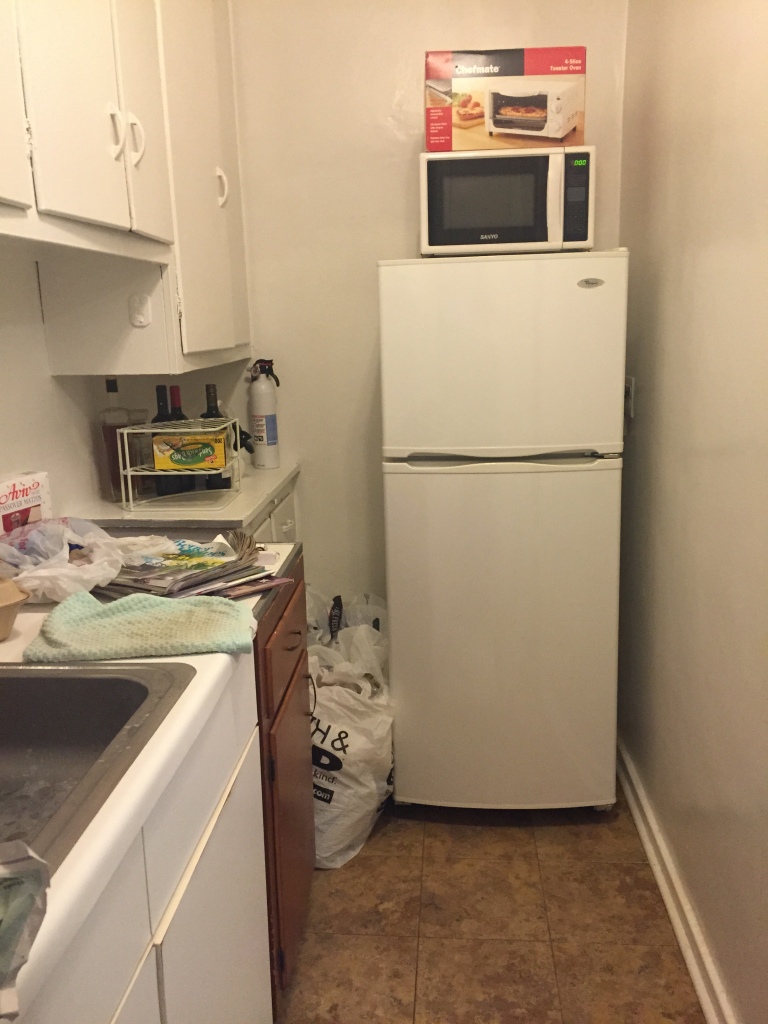
I scheduled delivery for Tuesday, and then I had to get to work!  First, was clearing out my kitchen to make room for the fridge swap.  I also had to find a new spot for the microwave, since I won’t be able to reach the top of my new fridge (the current fridge is a measly five feet–yes, I’m taller than it, hence my requirement).

Tuesday came, and I had to empty and clean the fridge, as I was donating it to the Restore.  Luckily, they don’t need an even swap.

Yeah, I stuffed the fridge, and I have two shelves with chocolate.

The delivery guys came and left in a jiffy, and then I had a shiny new-to-me fridge!

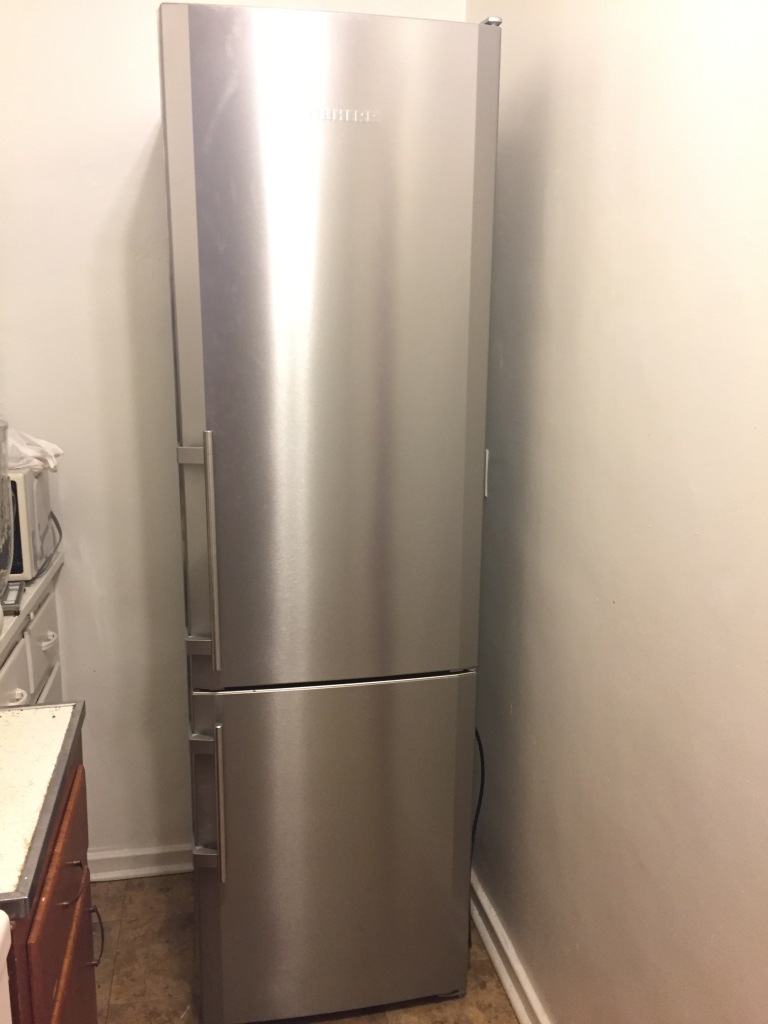
It’s so pretty and tall!

It took awhile to clean all the shelves, and then find a shelf configuration I liked.  There are FOUR adjustable shelves and FOUR adjustable door shelves–so many options!

Where my old fridge and freezer were packed, there’s plenty of room to spare in this one!

It’s a little stretch to reach the top shelf and control panel, but the kitchen design called for a filler piece between a six-foot tall fridge and the cabinet above, which is now unnecessary since this guy is so tall.

It’s nice to finally have something new in this kitchen!  I can’t wait until the rest of the kitchen is finished.  In the mean time, you can find me opening and closing the doors (which are soft close like fancy cabinetry), and staring at it in all its tall and shiny glory.

{Hannah} How Do You Know…

…if someone’s run a marathon?

Don’t worry–they’ll tell you!

still smiling for my fans after 23.5 miles

Last Sunday, I ran the TCS New York City Marathon!

I got tired around mile 16 after going over the third bridge (there are five), and started walking through the water stations at mile 18.  Since I started out faster than I should have, I was still able to finish in 4:28:08, which is under my goal time of 4:30.  For my first marathon (and one of the toughest marathons at that), I’m pretty proud of myself!

My name was even printed in the New York Times–check out about a third of the way down the first column below.

I celebrated post-race with my parents and friends, and with lots of pizza and cake.  I was pretty sore for a few days, but I’m mostly back to normal now.

I printed off a few pictures and put them in a frame from Michaels to commemorate my accomplishment.

I’m not sure if I’ll run another marathon, but like an “inspirational” quote had said: there’s a lifetime of knowing that I have. 🙂

{House} Kitchen Inspiration

When I moved into my apartment over a year and a half ago, I knew I’d renovate the kitchen (and bathroom).  The new layout would be pretty straight forward, as I can’t change the location of the sink or range.  But the aesthetic took a little longer for me to develop.

I’ve always liked the look of white kitchens, as they’re timeless and versatile.  Since this is a starter apartment with (by some standards) a small kitchen, I decided to go with white high gloss cabinets to help bounce light around.

At some point, I stumbled upon an NYC coop kitchen renovation that also used Ikea’s high gloss white cabinets!

Photo by Pablo Enriquez

I liked the clean and modern look of her kitchen, though I’m not fond of some of the details. I then found other kitchens with glossy white cabinetry that I felt were more my style.

Photo by Croma Design Inc

Photo by Natasha Habermann Studio

Photo by JAX Builders Ltd.

Photo by Basic Builders, Inc.

Even though the craze for herringbone tile is mostly over, I’m drawn to this herringbone tile every time I walk into Lowe’s.  In person, it’s much more white and grey than the yellow-ish tone it has online.

For counter tops, I’m going with a light to medium grey quartz.  It’ll tie in nicely with the veining in the marble.

a quick “mood board” with the marble herringbone tile, grey quartz counters, and high gloss white cabinetry

Though I’ve had a tough time finding a place to get the counter tops!  Lowe’s and Ikea both have minimum requirements for square footage (25 square feet), and since I don’t meet that requirement (I’m estimating I’ll need about 17 square feet), I have to pay a penalty (to the tune of $250).  Home Depot just has a minimum charge ($1200) regardless of square footage needed, and the price per square foot for their grey-colored counter tops is about $1200 anyway.  I’m still planning on talking to a few stone yards to see if they’re able to help me out.

In the mean time, I’m still meeting with contractors and sub-contractors to satisfy the board’s requirement of me not doing it alone.  Right now, it looks like I won’t be starting on demo and construction until September.